UITableViewでセクションに分ける
最終更新日:2015-05-23
UITableViewではリストのセクション分けができます。例えばメール一覧で日付毎にグループ化したり、連絡先の先頭1文字でグループ化したりしたい時に便利です。
セクション数を返すメソッドを実装する
numberOfSectionsInTableView()メソッドをViewControllerに実装し、リストにいくつセクションがあるかを返します。ここでは例として2セクションあるとします。
func numberOfSectionsInTableView(tableView: UITableView) -> Int {
    return 2;
}
セクション毎の行数を返す
tableView:numberOfRowsInSectionメソッドでは、リストの行数を返しますが、複数セクションを使う場合はセクション毎の行数を返すようにします。何セクション目の行数を返せばよいかは、セクションの位置(0から始まります)が引数で渡されるので、それを利用します。
ここでは、0セクション目は3行。1セクション目は15行あるよと伝えてみます。
func tableView(tableView: UITableView, numberOfRowsInSection section: Int) -> Int {
    if (section == 0) {
        return 3;
    } else {
        return 15;
    }
}
セクションに応じたUITableViewCellを返す
tableView:cellForRowAtIndexPathメソッドでセクションに応じて返すUITableViewを変えてみます。セクションの位置は引数のindexPathに入っています。
func tableView(tableView: UITableView, cellForRowAtIndexPath indexPath: NSIndexPath) -> UITableViewCell {
    switch(indexPath.section) {
    case 0:
        let cell = tableView.dequeueReusableCellWithIdentifier("row1") as! UITableViewCell;
        return cell
    case 1:
        let cell = tableView.dequeueReusableCellWithIdentifier("row2") as! UITableViewCell;
        return cell
    default:
        let cell = tableView.dequeueReusableCellWithIdentifier("row1") as! UITableViewCell;
        return cell
    }
}
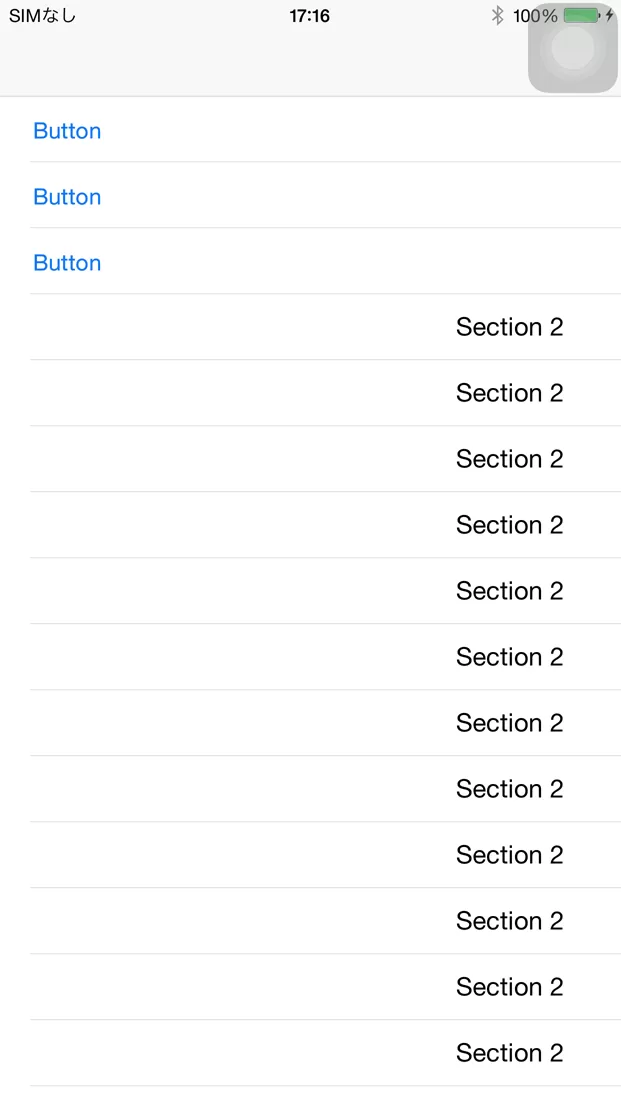
実行すると、次のようになります。
各セクションにタイトル(ヘッダ)をつける
tableView:titleForHeaderInSectionメソッドを実装すると、各セクションにタイトルをつけることができます。
func tableView(tableView: UITableView, titleForHeaderInSection section: Int) -> String? {
    return "Section \(section)"
}
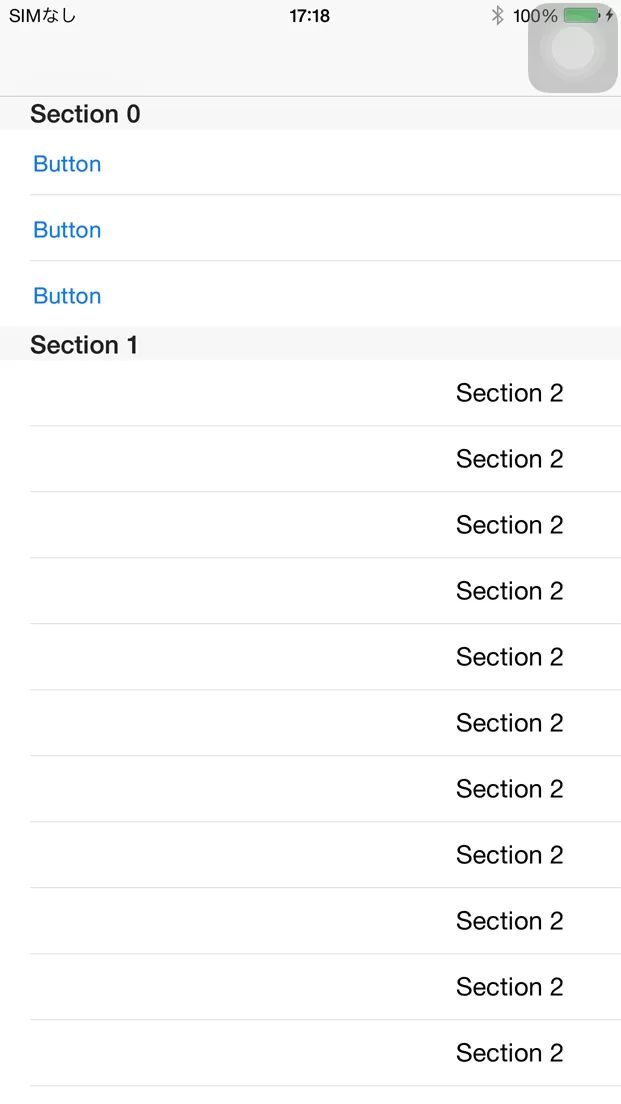
実行すると、次のようにセクションにタイトルが付きました。


